Call me simple (my hubby would beg to differ) but one of my all time favorite sweets are cookies. And I'm not talking about the kind you find on aisle five or your local grocery store. Yuck. You have to be crazy to pass up the chocolaty goodness of a freshly baked chocolate chip cookie! I mean, really?!!!
So what's better than a cookie? A whole lot of cookies of course! So how in the world was I suppose to pass up
Martha Stewart's Cookies: The Very Best Treats to Bake and to Share?
Lets just say that my husband REALLY loves me and just looked the other way as I put it in our shopping cart. So after watching it sit for oh, at least one year in my bookshelf, I thought I'd bring it out and make my little boy a sweet treat. I was hoping to make almond and raspberry thumbprints but I guess you have to have raspberries for that. Yes, I could have just filled them with raspberry jam but lets just say that I like to complicate my life because when I make sweets, I make it ALL from scratch. And I didn't have time for all that because I made the mistake of telling my son that I was going to make him cookies. Big mistake. As soon as he heard the C word, he started asking for some. And he wouldn't stop. So I quickly searched through the refrigerator for healthy snacks to keep him occupied while I made these...
To make CHOCOLATE THUMBPRINTS you will need:
- 1 c (2 sticks) unsalted butter, room temperature
- 1 c confectioners' sugar
- 1/4 tsp salt
- 2 tsp pure vanilla extract
- 2 1/2 c all-purpose flour
for the FILLING:
- 3 tbs unsalted butter, room temperature
- 3 oz semisweet chocolate, chopped
- 1 tsp corn syrup
Preheat oven to 350 degrees F. Line two baking sheets with parchment paper.
How to make the cookies:
Beat butter, confectioners' sugar, salt and vanilla on medium speed until smooth. Decrease speed to low while adding the flour then increase speed to medium until combined. The dough will look a bit crumbly but not dry.
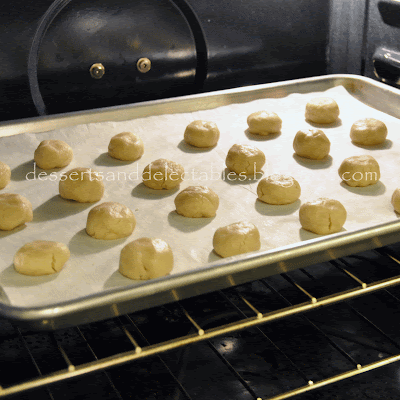
Use 2 teaspoons of dough to form each ball . I used a tablespoon to gather the dough but a melon baller or small portion scoop would work just as well. Place balls 1" apart on baking sheets and stick them in your preheated oven. This recipe yield about 4 dozen cookies.
Bake them for approximately 10 minutes, remove from oven, and for goodness sake DON'T STICK YOUR THUMBS INTO THEM! Yes, you heard right! You can still call them by their name even though you played it smart and used the round end of a measuring spoon to make the indentation instead of your thumb. If you don't have measuring spoons.... go buy some! Okay, you don't have to run to the store to buy measuring spoons. Look around your kitchen and I'm sure you can find something to use instead of your thumb. Once you have made wide, deep indentations into the cookies, stick them back in the oven and bake until the edges are light brown, about 8 minutes. Transfer to a wire rack to cool.

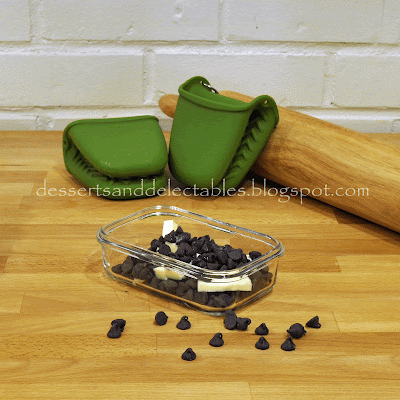
The recipe calls for a heatproof bowl set over a pot of simmering water. I thought I'd making a little easier... Combine the chocolate, corn syrup and 3 tbs of butter in a microwaveable dish. Pop it into the microwave and warm in 30 sec intervals (time will vary from microwave to microwave). Stir after each interval until filling is melted and smooth. Allow the filling to cool until it thickens the slightest bit. This will make it easier to pipe onto the cookies.
Once cookies are completely cool, pipe filling into cookie centers. If you don't have a piping bag handy, you may use a Ziploc bag with the tip cut off, a candy bottle, or a spoon. Enjoy once the filling is firm.
Cookies will keep well for 3 days stored in an airtight container at room temperature.
I took it one step further and sprinkled powdered sugar on my chocolate thumbprints. Happy Baking!


